Showing posts with label pin it. Show all posts

Tuesday, September 24, 2013

Sensory Sunday Funday: Edible Scented Summer Mess

According to the ol' calendar summer is over, and even though I don't think summer ever ends in Alabama we decided to do a summer themed project.

We decided to get dirty in the "dirt," "mud," and "sand."


It was the most delicious smelling and tasting mess I've ever played with. We used chocolate pudding for the mud, cookie crumbs for the dirt and brown sugar for the sand. 


It was definitely sticky and messy but oh so fun. And don't worry I took on the awful task of eating the oreo creme to free up the cookies to be smushed into dirt. 

Makaela loved smelling the delicious scents (who wouldn't?!) and had fun feeling the different textures. We even pretended to exfoliate our hands with the course brown sugar and cookie crumbs. Girls rule.


The brown sugar was similar to the texture of perfect sand castle building sand. At first the coldness of the pudding took her by surprise but she got over that in a hurry. And of course, she immediately dumped the cookie crumb dirt....just on the blanket, not on her head. Victory. 

I like doing these projects and making them edible because she is very much in the everything-goes-immediately-to-the-mouth stage. I wouldn't let her eat gob-fuls but I may have encouraged her to get a little pudding in that mouth of hers. 


After this adventure she just went straight in the bath and got hosed down, which she thought was great. Thank goodness the girl loves water. 

Did I mention that I reserved some pudding and cookie crumbs beforehand so I could indulge in a delicious dirt cup later? Yes, that happened. I stand by my judgement that dirt cups are NOT just for kids. 

Edible Scented Summer Mess

Chocolate pudding
Chocolate cookie crumbs
Brown Sugar
At least containers or bowls
A don't-care-if-it-gets-messy-blanket, or something similar to cover the area you are playing on.

I like using clear containers because it is easier for the little one to see into and I also prefer shallow containers so she doesn't have to reach to deep!


Sunday, September 15, 2013

Sensory Sunday Funday: Colorful scented water activity

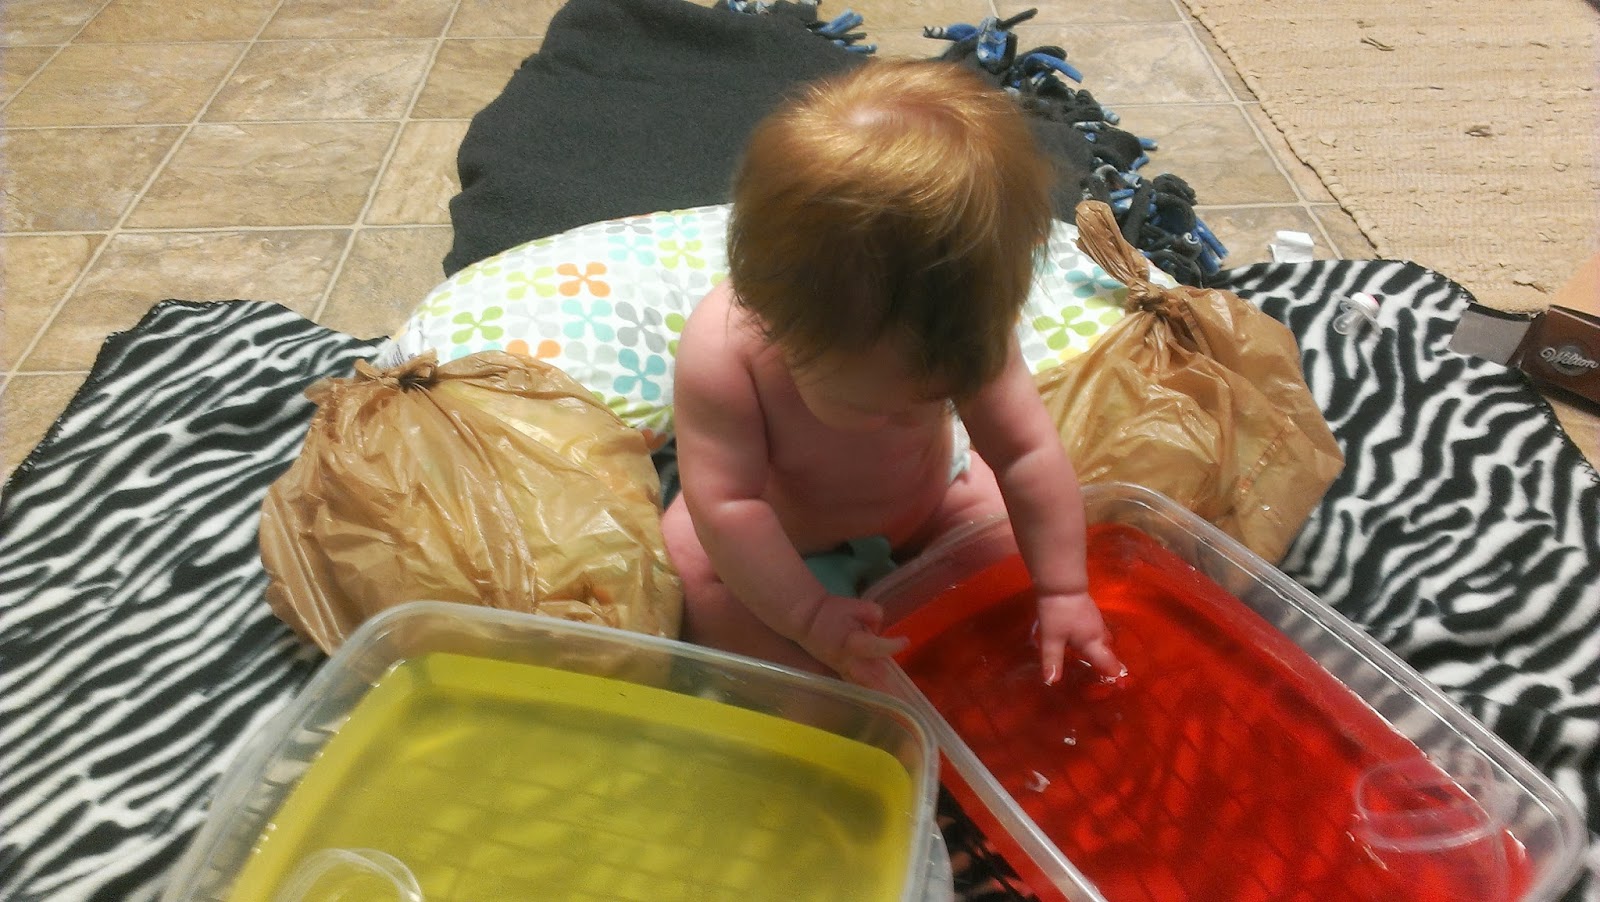
While we would normally want our daughter to steer clear of yellow water, last week we encouraged her to play in it. Say whaaaaaaat?!


We decided to do some splash-splashing last Sunday. Using the left over kool-aid packets we had from the week before, we made ourselves some colorful and yummy smelling water to play in. Red, yellow and purple were our colors again... our hands did turn a little red after playing in that pool of water but it was nothing a little soap couldn't fix. 


I used cold water in one and warm water in the others to spice things up. She definitely seemed to prefer the warm water, or perhaps she was just more attracted to the red color and cherry scent, who knows!


We also brought out some smaller plastic cups and some bath toys for a swim. They were fun to play with and liked splashing too!


We kept the water pretty basic this time but I think it would be fun to add things like bubbles and glitter as she gets older. Honestly, there are few things in life that I DON'T want to add glitter to. 

Miss Mak enjoyed splashing, making waves and pulling mommy's hand through the water and mommy realized it's not super easy to photograph an activity when your hand is wet :)


 Fun, easy and F-R double E. We used the same set up on the floor as last week...plastic covered boppy  plopped on top of our don't-care-if-it-gets-messy blanket.

Colorful Scented Water Activity

H2O
Powdered drink packets (for color and scent)
Containers or bowls (we liked using clear ones)
Spoon to stir water
Toys, cups or whatever else you want to splash with

Pretty self explanatory. We filled up the water high because it was easier for her to reach. You could totally use food coloring instead of kool-aid to color the water; kool-aid just appeals to our lil noses around here. 

Sunday, September 8, 2013

Sensory Sunday Funday: Scented Edible Paint


Last Sunday we did a little project. It was messy. It was fun. It even SMELLED good.


We made scented edible finger (and toe) "paint." It took approximately 3 minutes to throw together and only involved two ingredients. I'm a sucker for easy and convenient. (I posted the "recipe" at the bottom)


We made three colors. They turned out pink, purple and yellow. They smelled like cherry, grape and mango....mmm if only the picture was scratch and sniff. 

What I love about sensory activities like this is that they are fun in different ways for a wide range of ages. Let's be real, I even had fun. Makaela is definitely on the young side of the spectrum for this project but we can't wait to see how she enjoys this in different ways as she gets older....I anticipate paint being flung at the wall and also lathered into her hair. Get away with it while you can girlllllll.


I just plopped down our don't-care-if-it-gets-messy blanket, covered her boppy in plastic bags (she still gets a little wobbily sitting up on her own) taped together a few sheets of paper and wham bam thank you ma'am our work station was set up. 


At first our little artist was cautiously curious, but then she got right down to business. Mushing the paint between her fingers, bringing it to her mouth, waving her hands all around....


Mama also invited Makaela's piggies to the party. 


What did we discover? This little Picasso prefers the human body to be her canvas. Can't lock this one down to paper. She turned her skin (and mine) into an unforgettable work of art. 


There are SO many sensory activities we want to try. I think we could do one a week for the next two years and still not hit on everything there is to explore. I'm pretty pumped to expose the little one to all sorts of homemade fun. It's like that idea that kids would rather play with the box and wrapping paper than the gift that was wrapped up. It is neat to see what a great time Mak can have with stuff laying around the house. But please, don't get me wrong....we totally love our plastic, musical, store bought toys around here. A day doesn't go by that we don't get down with our latest Target or Babies R Us finds. Real talk.

Scented Edible Paint


Plain yogurt
Powdered drink packets (for color and scent)
Containers or plates for the paint
Spoon or other stirrer to mix the paint

We simply divided up our plain yogurt into small plastic containers and mixed with koolaid packets. Use as much koolaid, as you want to get desired color. I think I used maybe 1/4 of each packet. 

What I liked about the mixture was that it was surprisingly not very sticky, I think this is thanks to the fact that there wasn't any added sugar.